
For students to use the drop-in mode in Penji, you must set up the following items:
- Step 1: Enable Drop-In
- Step 2: Upload the courses CSV
- Step 3: Certify Providers and upload a Provider CSV
- Step 4: Upload a location CSV
- Step 5: Set up provider hours
Step 1: Enable Drop-In
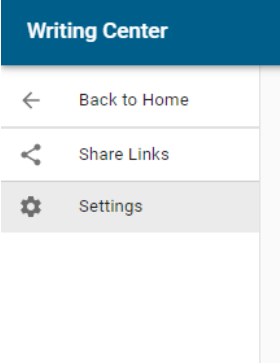
Before you can set up Drop-In, you need to enable the Drop-In mode. You will know if the Drop-In mode is enabled if you see the "Drop-In" heading on the admin panel. See the below screenshots. The Drop-In mode is disabled in the left image and enabled in the right.
To enable Drop-In, navigate to settings > Drop-In > Drop-In mode enabled > set this to enable. This is further described in the help center article, Admin Panel Drop-In Settings.
Step 2: Courses
How to set up your course list can be found in the article, Setting up your Courses. These courses will be used across all modes of Penji (appointments, events, sections, and Drop-In).
Step 3: Providers
How to set up your Providers can be found in the article, Admins: Providers Setup (Tutors, Advisors, Coaches, etc.). These will be the eligible Providers across all modes of Penji (appointments, events, sections, and Drop-In).
Step 4: Locations
How to set up your locations can be found in the article, Setting Up Drop-In Locations.
Step 5: Adding Provider Hours
Either your providers can add their own hours, described in the article, Providers: Setting Up & Editing Hours, or you can add hours from the admin website, described in the article, Managing Provider Drop-In Hours.
Comments
0 comments
Please sign in to leave a comment.